
How to Trim Jump Stitches with Double-Curved Embroidery Scissors
Published 11/15/2026 · Updated 11/16/2026
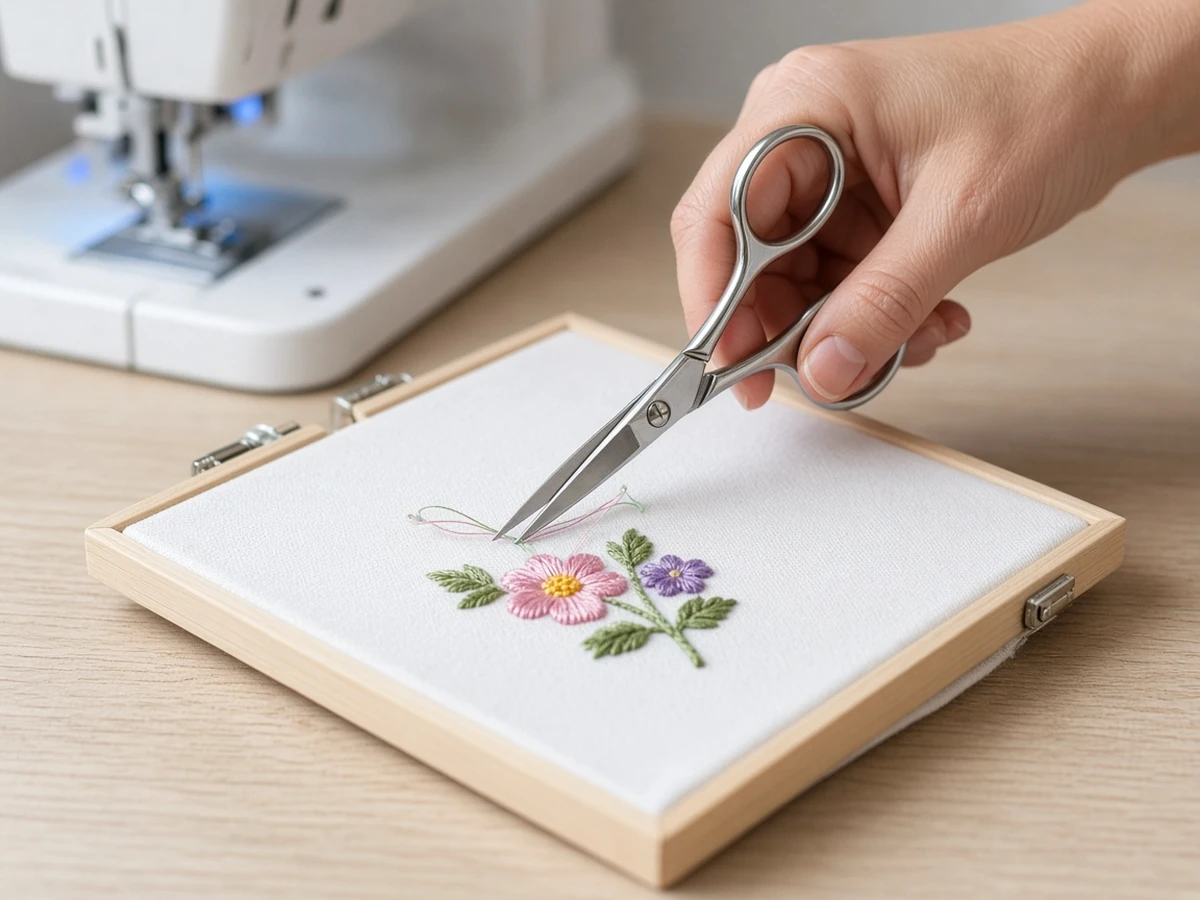
A careful guide to trimming jump stitches with the Gingher 6-inch double-curved embroidery scissors, covering the listed construction, the protective sheath, and the difference between snips and fabric shears.
Products mentioned in this guide
How-To and Techniques
Last updated: November 2026
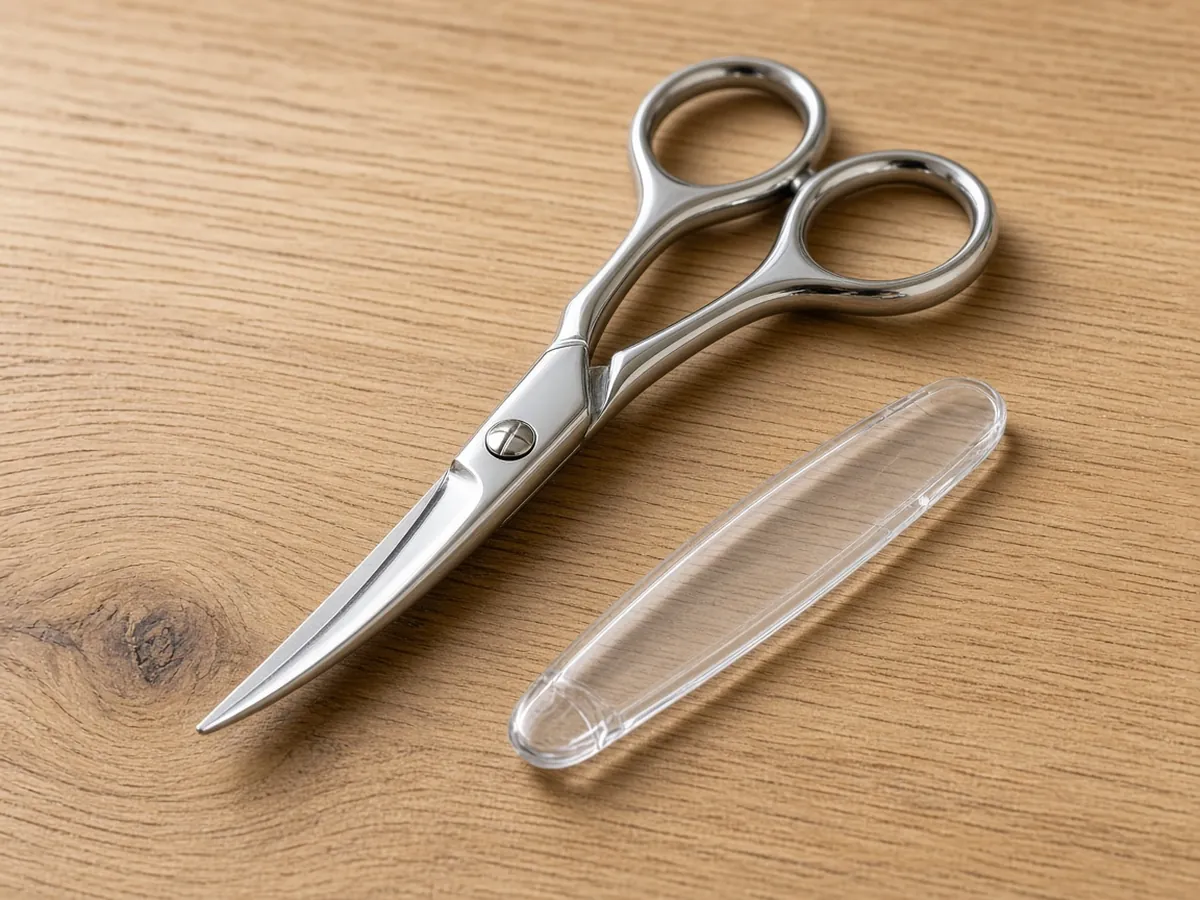
Quick verdict: Jump stitches are the threads a machine leaves between parts of a design. Trim them close to the embroidery, not with dressmaker shears, and put the scissors back in a sheath when you are done. The pair this page uses is the Gingher 6-inch double-curved embroidery scissors (model 01-005866): forged steel, chrome-over-nickel, a double-curved handle, a protective sheath and a lifetime warranty bullet on the listing. At our 15 November 2026 check the Amazon US listing showed $47.99, In Stock, sold and shipped by Amazon.com, with a rating of 4.8/5 from 1,438 ratings, a Best Sellers rank of #60 in Craft Scissors, and 200+ bought in the past month. This is a premium snip, not a disposable cutter, and it is not a fabric-cutting shears. The Gingher family also includes stork, 4-inch and dressmaker styles; confirm this ASIN (B003STDQJC). We have not tested sharpness or handle comfort.
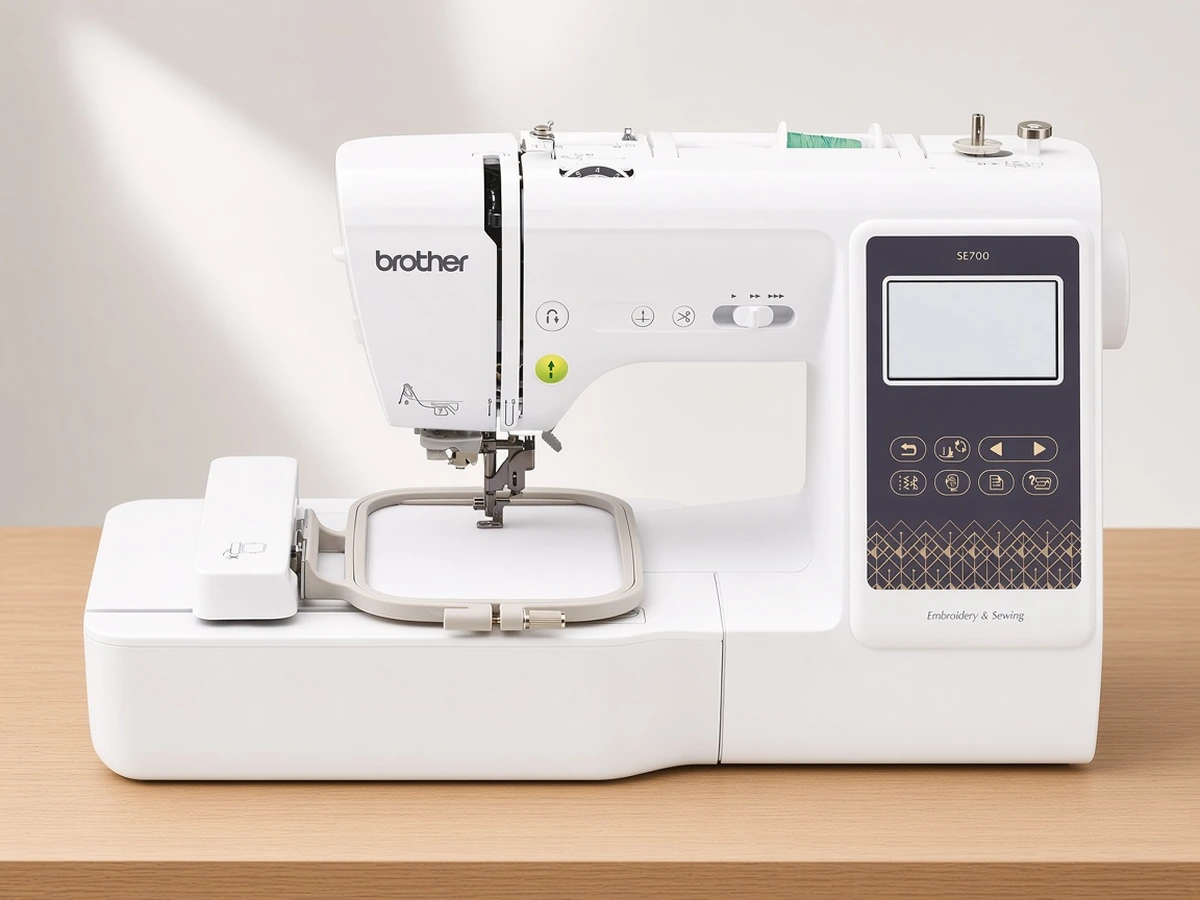
Some machines also trim jumps automatically. The Janome Memory Craft 100e listing includes automatic jump-thread trim; see Janome Memory Craft 1000 vs 100e. An automatic trimmer does not remove the need for a pair of scissors on leftover threads.
What you need
Double-curved embroidery scissors with a sheath. The Gingher listing gives overall dimensions of 6 x 3.5 in, and a blade-length field also says 6 in; we report both rather than picking one. The double-curved handle is the listed style, which is meant to help the blades reach thread on a hooped piece without the handle hitting the fabric or the hoop. See the Gingher 6-inch double-curved scissors product page, or check the Amazon listing.
The finished stitch-out, still in the hoop if that makes the jumps easier to see. Work on a stable surface, with good light.
Step 1: Leave the work supported
Keep the garment or sampler supported, still hooped if the jumps are easier to reach that way, so you are not pulling the fabric toward the blades. The scissors are sharp; the sheath is not optional when the pair is not in use.
Step 2: Slip the curved blades under the jump, then cut close
Slide the tip under the jump stitch and cut close to the design, without cutting the lock stitches at either end or the fabric underneath. The double curve is there so the handle can sit above the work while the tips stay low. Make one cut at a time. We do not claim a "correct" leftover length, because we have not tested a finish standard on this pair.
Step 3: Check the back, then sheath the scissors
Turn the work over and trim any long jumps on the back the same way, especially before a second color or a dense fill. Then put the scissors in the included sheath. Do not use this pair to cut stabilizer sheets, quilt batting or garment seams; that is what dressmaker shears are for. Stabilizer choice is covered in tear-away vs cut-away vs wash-away.
Frequently asked questions
Are these the same as stork embroidery scissors?
No. Stork, 4-inch and dressmaker Ginghers are different styles in the same family. This page is only the 6-inch double-curved model 01-005866.
Do I still need scissors if my machine trims jump threads?
Yes. Automatic jump-thread trim, where a machine lists it, reduces the number of jumps you have to cut. It does not replace a pair of scissors for leftover threads and finishing.
See the Janome Memory Craft 100e product page, or check the Amazon listing.