
How to Set Up the Brother SE700 for Embroidery (Beginner Step-by-Step)
Published 10/28/2026 · Updated 11/15/2026
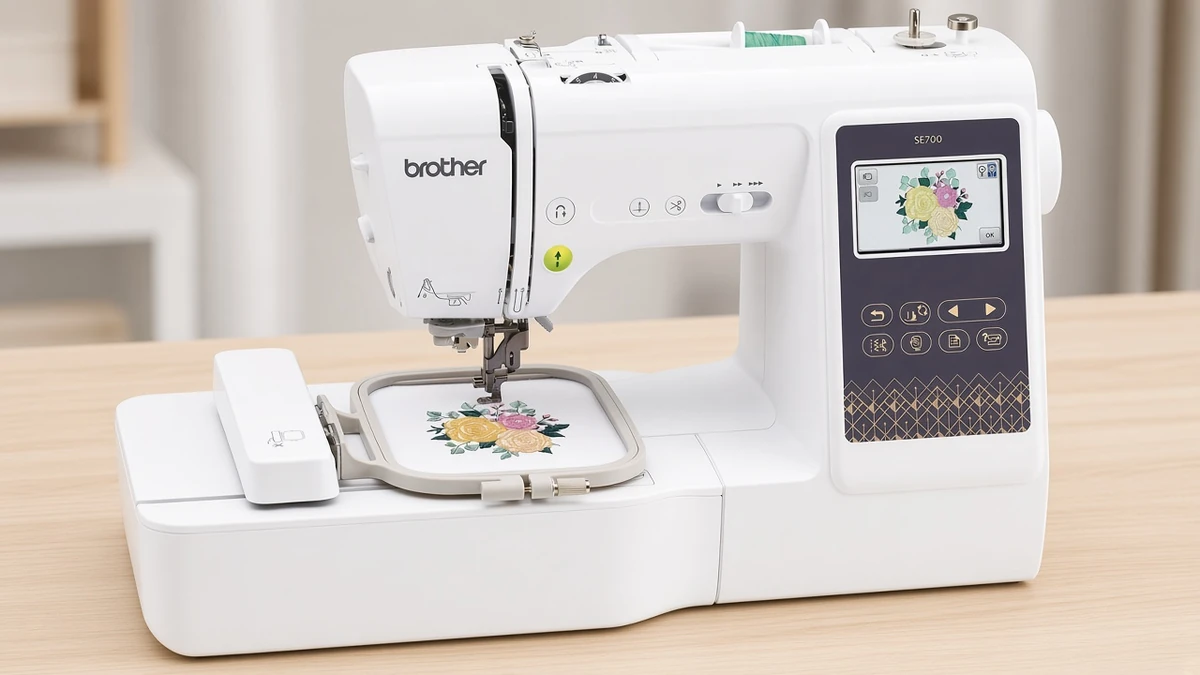
A step-by-step first session on the Brother SE700: swapping to the Q foot, attaching the embroidery unit, threading, hooping and sending your first design.
Products mentioned in this guide
How-To and Techniques
To switch the Brother SE700 from sewing mode to embroidery mode, power off the machine, replace the standard "J" zigzag foot with the spring-loaded "Q" embroidery foot using the included disc screwdriver, slide the removable embroidery carriage unit onto the left connection port until it clicks, and thread the upper path with 40wt polyester embroidery thread while the presser foot lever is raised.
Whether you are researching the Brother SE700 Computerized Sewing & Embroidery Machine as your first machine or you just pulled it out of the box, there is one critical detail beginners quickly discover: the SE700 ships configured for standard sewing, and it does not include embroidery thread or stabilizer in the box.
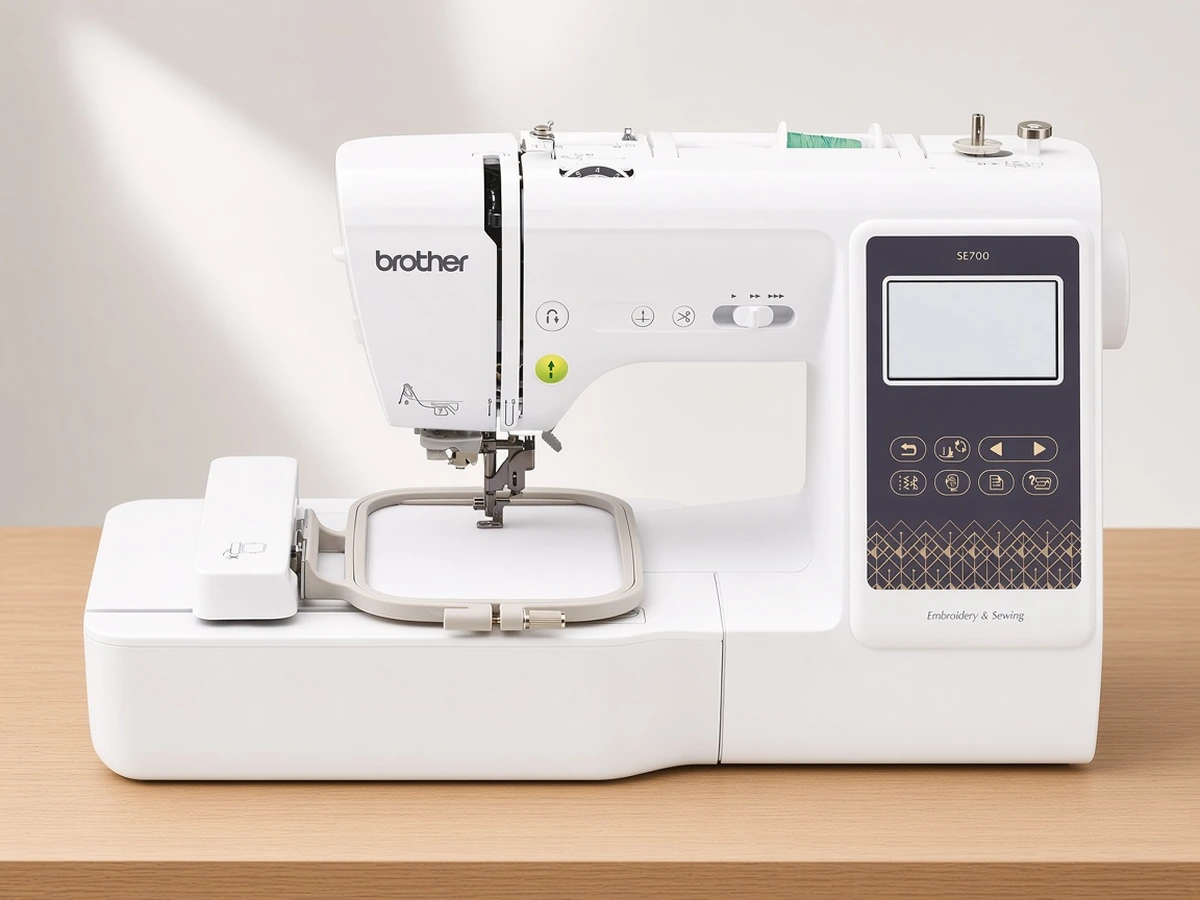
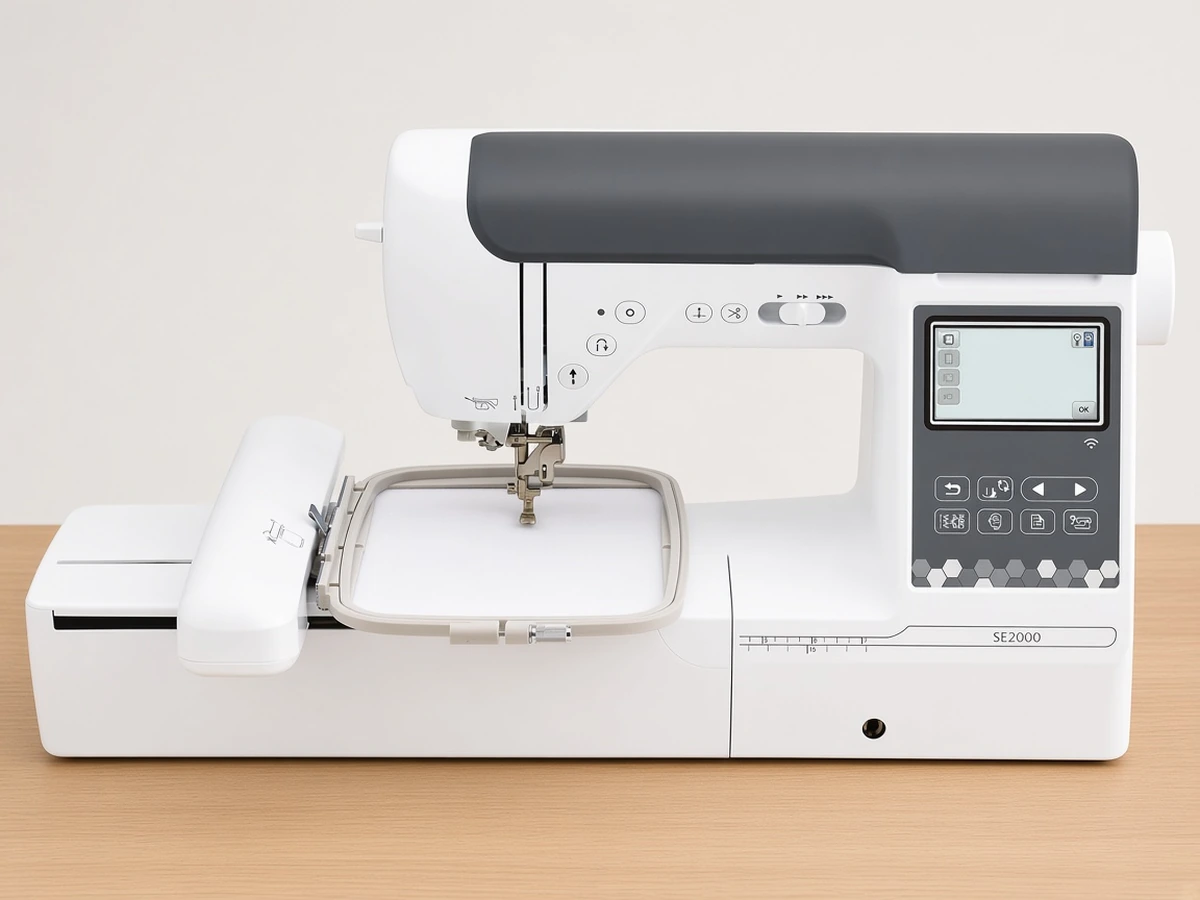
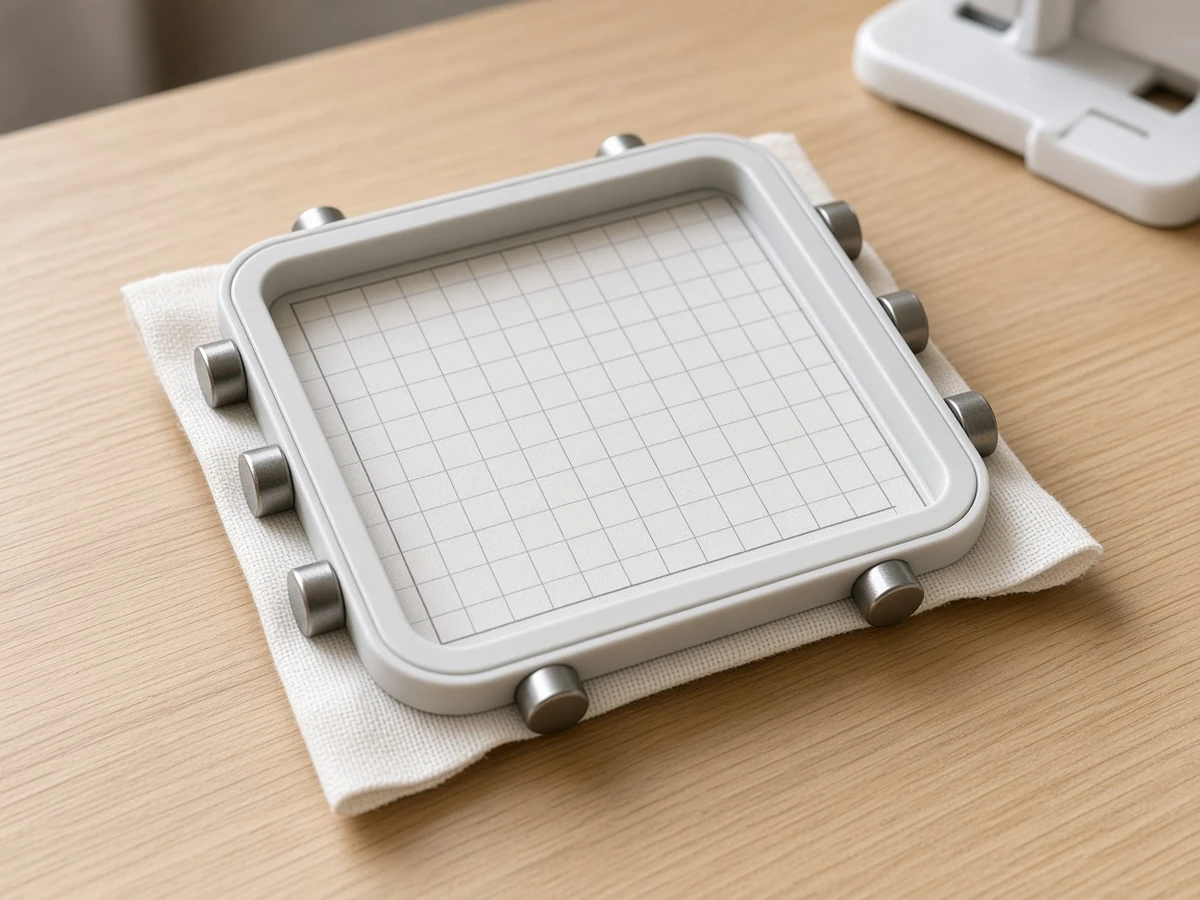
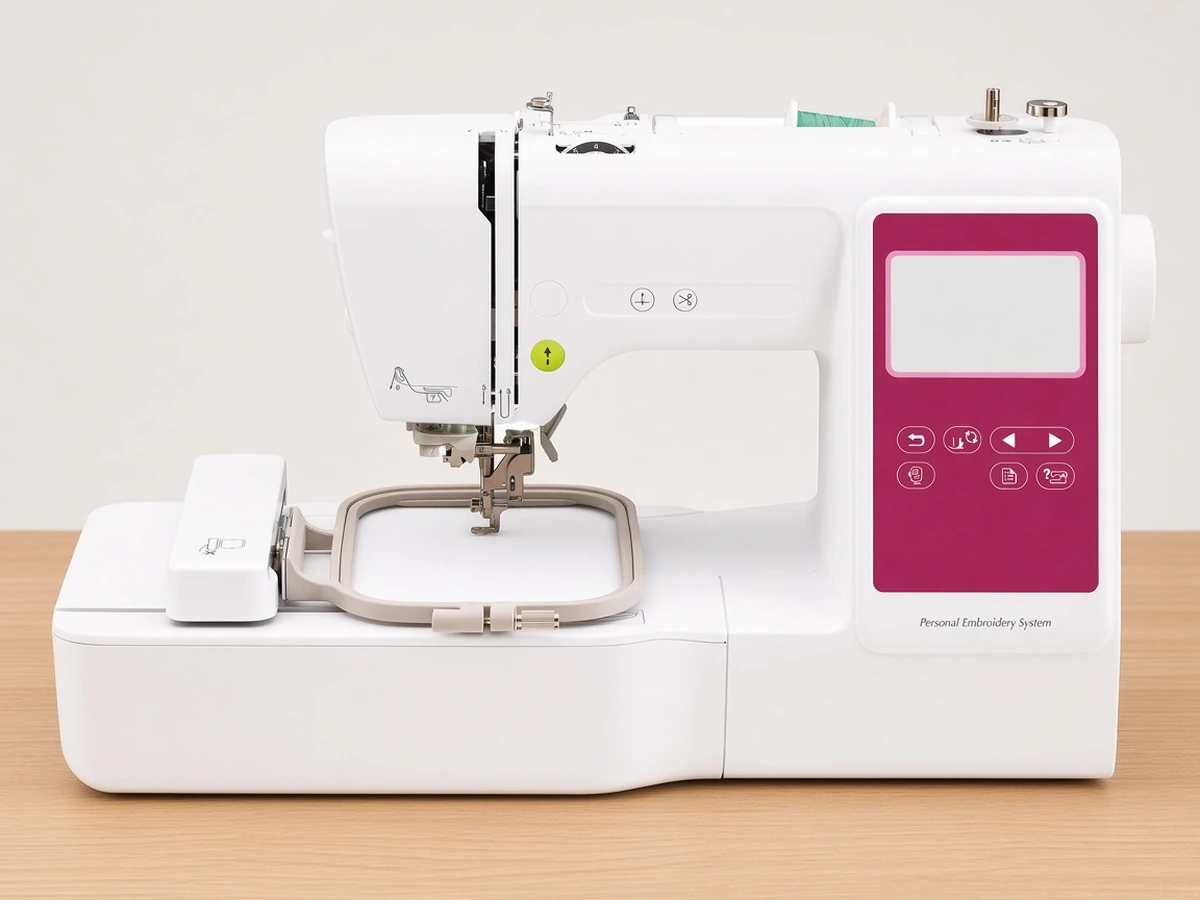
On the front panel of the Brother SE700, the 3.7-inch color LCD touchscreen sits above the control buttons, and the 4" x 4" embroidery hoop locks into the carriage arm of the embroidery unit on the left. An optional magnetic 4 x 4 frame, listed with a frequently-returned caution, is covered in how to use a magnetic 4x4 hoop.
What to Buy Before Your First SE700 Embroidery (Not in the Box)
While the Brother SE700 includes 8 presser feet (among them the "Q" embroidery foot), a 4" x 4" hoop, and 135 built-in designs, you will need four essential consumables before running your first test stitch:
The Machine Itself: Brother SE700 Sewing & Embroidery Combo Machine — Features a 4" x 4" embroidery field, a maximum sewing speed of 710 stitches per minute, 103 built-in sewing stitches, and Wireless LAN file transfer.
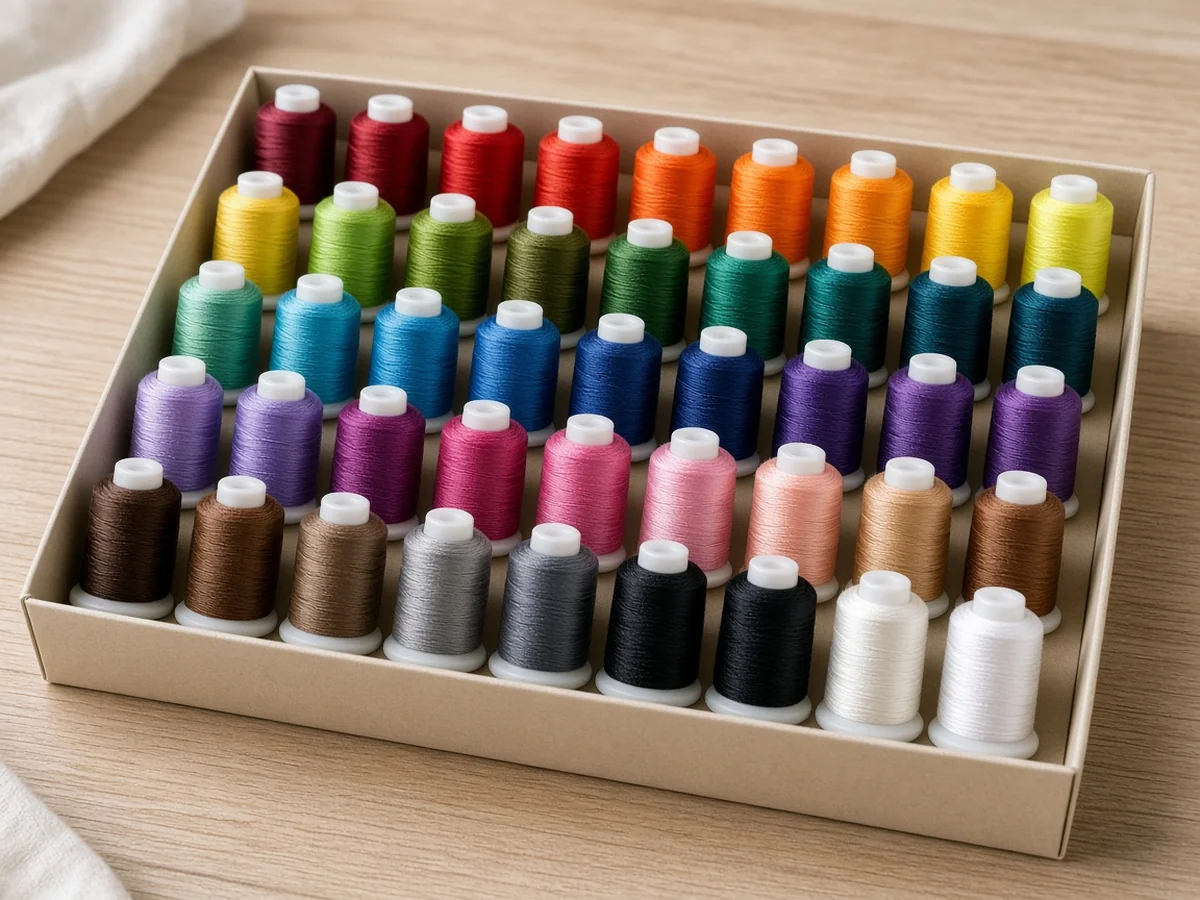
40wt Polyester Embroidery Thread (Required): Regular cotton sewing thread tends to break and leave lint in the tension discs at embroidery speed. A New Brothread 40-Spool Polyester Embroidery Thread Starter Kit covers the common colors for your first projects. That kit, and what is not in the box, is covered in best embroidery thread for beginners.
Medium-Weight Cut-Away Stabilizer (Required): Without a stabilizer underneath, the fabric shifts under the needle and designs pucker or knot. Start with Brothread 2.5oz Pre-Cut 8" x 8" Cut-Away Stabilizer Sheets, which fit the 4" x 4" hoop with zero cutting required.
Size A (Class 15) Pre-Wound Bobbins (Highly Recommended): Brother lists only a few bobbins in the box (two empty bobbins and three pre-wound 60 weight bobbins), so a bulk pack saves winding. A 144-Pack of Class 15 (SA156) 60wt White Pre-Wound Embroidery Bobbins keeps bottom tension consistent from one bobbin to the next.
Replacement Embroidery Needles: Keep a pack of Schmetz 75/11 Home Embroidery Needles on hand; the larger eye of an embroidery needle is gentler on metallic and rayon threads than a standard sewing needle.
Step 1: Swap the "J" Sewing Foot for the "Q" Embroidery Foot
Out of the box, the Brother SE700 comes with the metal "J" Zigzag Foot installed. If you attach the embroidery unit without changing this foot, the moving hoop frame will strike the needle clamp.
Flip the power switch to "O" (Off): Always power down before placing your hands near the needle bar.
Raise the needle and presser foot: Turn the handwheel on the right side toward you (counterclockwise) until the needle reaches its highest point, then lift the presser foot lever.
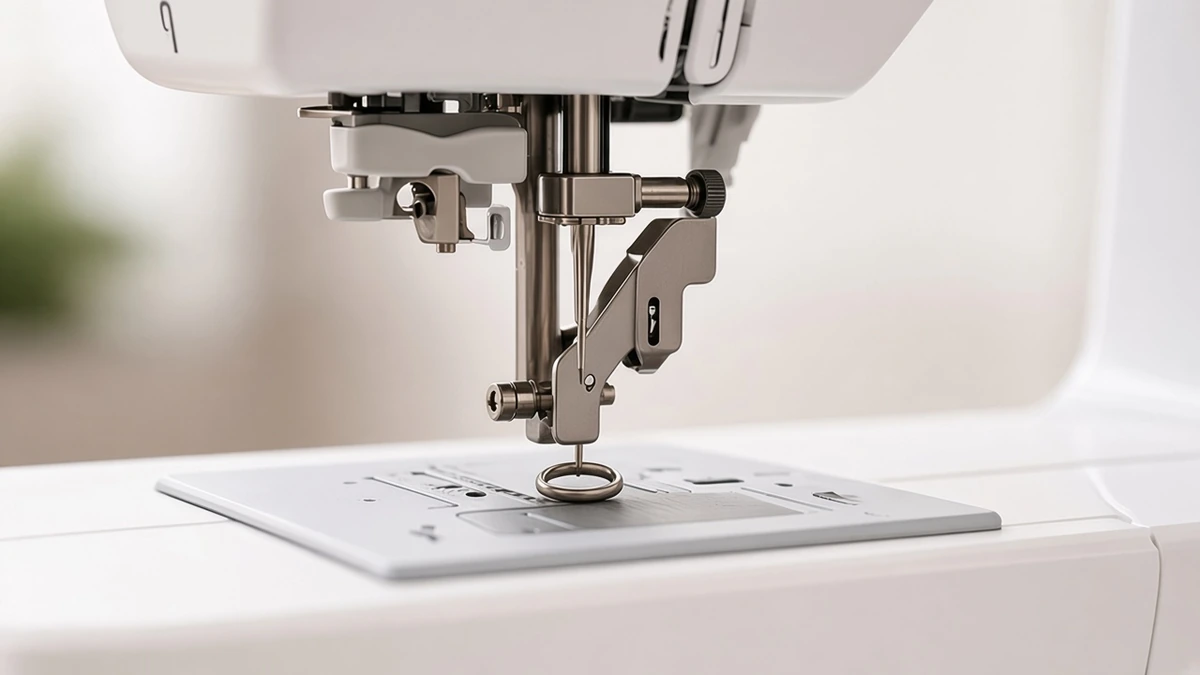
Unscrew the entire ankle assembly: Unlike regular snap-on sewing feet, the plastic "Q" Embroidery Foot replaces the entire metal shank. Use the coin-shaped disc screwdriver from your accessory pouch to loosen the black thumb screw on the left side of the needle bar.
Install the "Q" Embroidery Foot: Hook the U-shaped fork of the "Q" foot around the left thumb screw while resting the silver spring bar on top of the right needle clamp screw. Tighten the black screw firmly with the disc screwdriver so it cannot vibrate loose during high-speed stitching.
Step 2: Attach the Embroidery Carriage Unit
To convert the 6.4" x 4.0" flat workspace into an automated embroidery table:
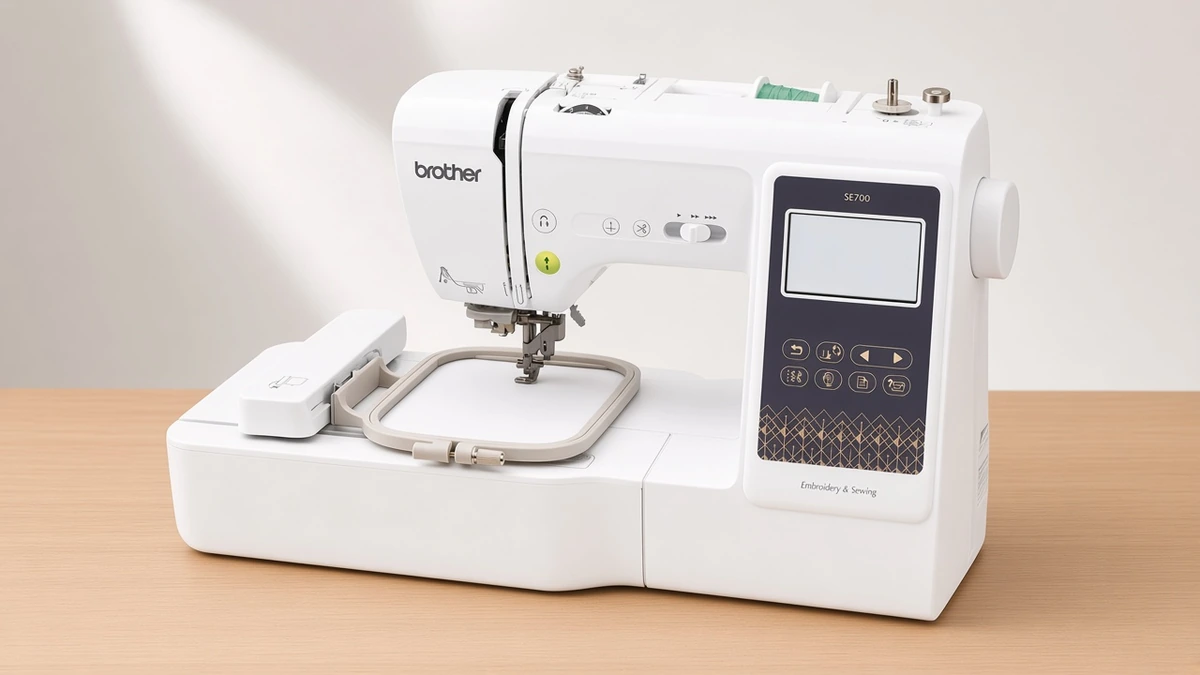
Remove the flat-bed storage tray: Grip the plastic accessory compartment on the left side of the machine and slide it straight to the left to expose the concealed connection port.
Slide on the embroidery unit: Keep the embroidery arm level with the base of the machine and push it firmly to the right until you hear a solid click.
Power on and calibrate: Flip the power switch on. A safety message on the 3.7-inch LCD touchscreen asks you to keep your hands clear of the carriage. After you tap OK, the carriage moves on its own to find its home position. (The metal feed dogs underneath drop down automatically whenever the embroidery unit is connected.)
Step 3: Load the Class 15 Bobbin (Make a "P")
Embroidery calls for a fine 60wt or 90wt bobbin thread in the lower case, which keeps the stitch knots on the back of the garment.
Make a "P": Hold the Class 15 Pre-Wound Bobbin with the thread tail coming off the left side, so bobbin and tail form a P rather than a q.
Seat the bobbin: Drop it into the top-loading case, hold it still with a fingertip, and draw the thread tail through the metal tension channel on the left.
Pull across the built-in blade: Pull the thread around the plastic track until the built-in razor snips the tail. Refit the clear plastic cover. There is no need to bring the bobbin thread up through the needle plate by hand.
Step 4: Thread the Top Thread With the Presser Foot Raised
On the Brother SE700, thread nests ("birdnesting") under the hoop most often come from routing the upper thread with the presser foot lowered. With the foot down, the tension discs are closed, so the thread cannot settle between them.
Lift the presser foot lever first: The tension discs open only while the lever is up.
Mount your 40wt spool: Place a spool from your New Brothread 40-color polyester embroidery thread kit onto the horizontal spool pin and slide on a plastic spool cap that closely matches the diameter of the spool base.
Follow the numbered path (1 to 6): Route the thread through top guide #1, down channel #2, around the bottom U-turn at #3, up into the slotted take-up lever at #4 (pull from right to left until it clicks into the eyelet), back down channel #5, and behind the thin metal needle bar guide (#6).
Use the Automatic Needle Threader (7 to 9): Lower the presser foot lever so the threader aligns with the needle eye. Hook the thread under guide #7, pull it through the side cutter on the left casing, and press the automatic threader lever all the way down.
Pull the loop through the "Q" foot: Pull the thread loop completely through the needle eye and feed the tail down through the center hole of the plastic "Q" foot.
Step 5: Hoop Your Fabric & Send Designs Over Wi-Fi
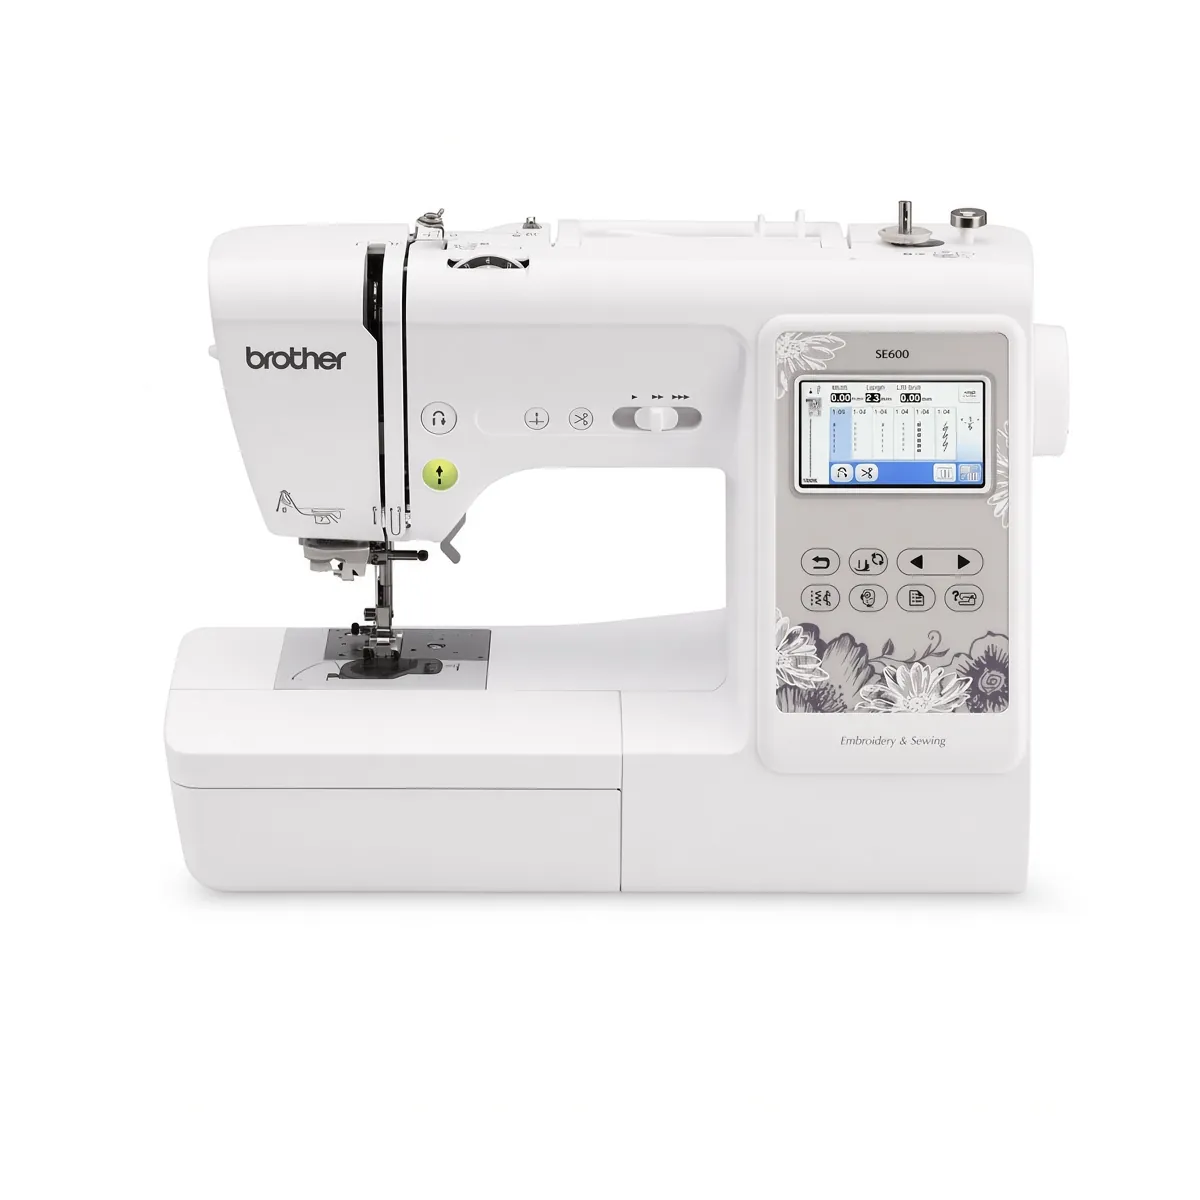
The standout upgrade on the Brother SE700 compared to the older Brother SE600 is built-in Wireless LAN connectivity and support for the Brother Artspira mobile app.
Layer the stabilizer under the fabric: Place one sheet of 2.5oz Cut-Away Stabilizer beneath the fabric and smooth both flat. Set both layers over the outer 4" x 4" ring, press the inner ring in evenly and tighten the thumb screw until the fabric is firm and taut but not stretched; knits in particular should keep their shape.
Load your design: Tap one of the 135 built-in embroidery designs or 10 built-in fonts on the LCD touchscreen, or transfer any downloaded
.PESembroidery file wirelessly from your Windows PC (via Brother's free Design Database Transfer app) or your phone (via the Artspira app).Snap in the hoop and stitch: Push the hoop's metal side brackets into the clips on the carriage arm; both sides should click and sit flat. Lower the presser foot lever so the status light turns Solid Green, press the green Start/Stop button, and watch your SE700 stitch out the first color layer!
FAQ
Which presser foot does the SE700 need for embroidery? The "Q" embroidery foot. The machine ships with the "J" zigzag foot installed, so swap it for the "Q" foot before attaching the embroidery unit.
How do I attach the embroidery unit? Power off, slide the flat-bed storage tray off to the left, then push the embroidery unit onto the connection port until it clicks. When you power on, the carriage calibrates its home position.
Why is thread bunching under my design? Usually because the upper thread was routed with the presser foot lowered. Raise the presser foot lever first so the tension discs open.
Can I send designs to the SE700 over Wi-Fi? Yes. It has wireless LAN, so you can send .PES files from a Windows PC with Brother's free Design Database Transfer software or from your phone with the Artspira app.
What is not included in the box for embroidery? Embroidery thread and stabilizer. Plan for 40wt polyester thread, cut-away stabilizer, extra Class 15 bobbins and spare embroidery needles. When to use tear-away, cut-away or wash-away is in best embroidery stabilizer types.
Final Verdict: Is the Brother SE700 Worth Buying?
Who should buy the Brother SE700: Beginners, hobbyists, and Etsy side-hustlers who want a single compact machine that handles both everyday garment sewing (103 built-in stitches) and professional 4" x 4" chest logos, patches, baby onesies, and monograms with wireless file transfers. Our full Brother SE700 review covers its features in more depth.
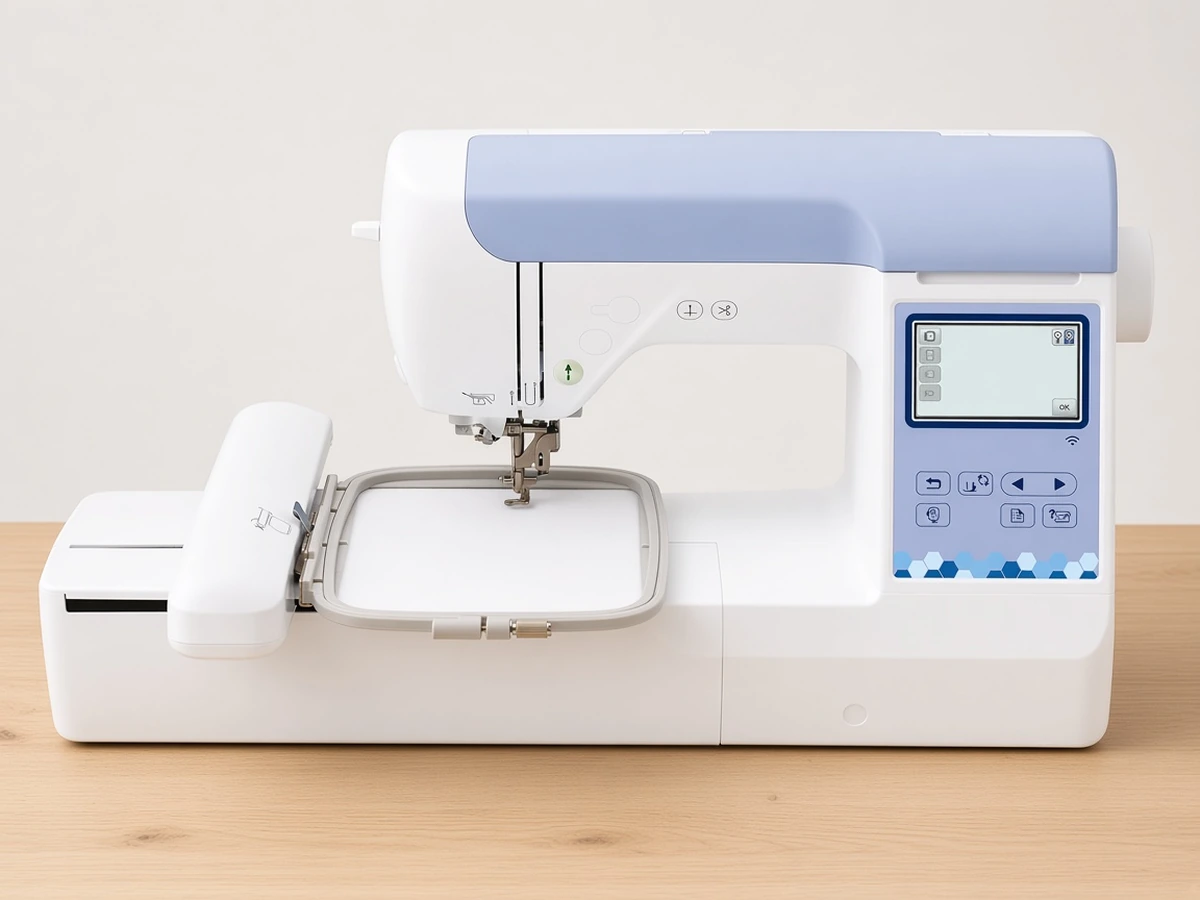
Who should skip it: Crafters who only want to stitch oversized 5" x 7" sweatshirt fronts and already own a dedicated sewing machine should step up to the Brother PE900 (Amazon), which is an embroidery-only model with a larger 5" x 7" hoop. If you want the bigger field and still need to sew, our Brother SE700 vs SE2000 comparison covers the larger Brother SE2000.