
How to Set Up the Brother PE900 for Embroidery (Beginner Step-by-Step)
Published 10/29/2026 · Updated 11/15/2026
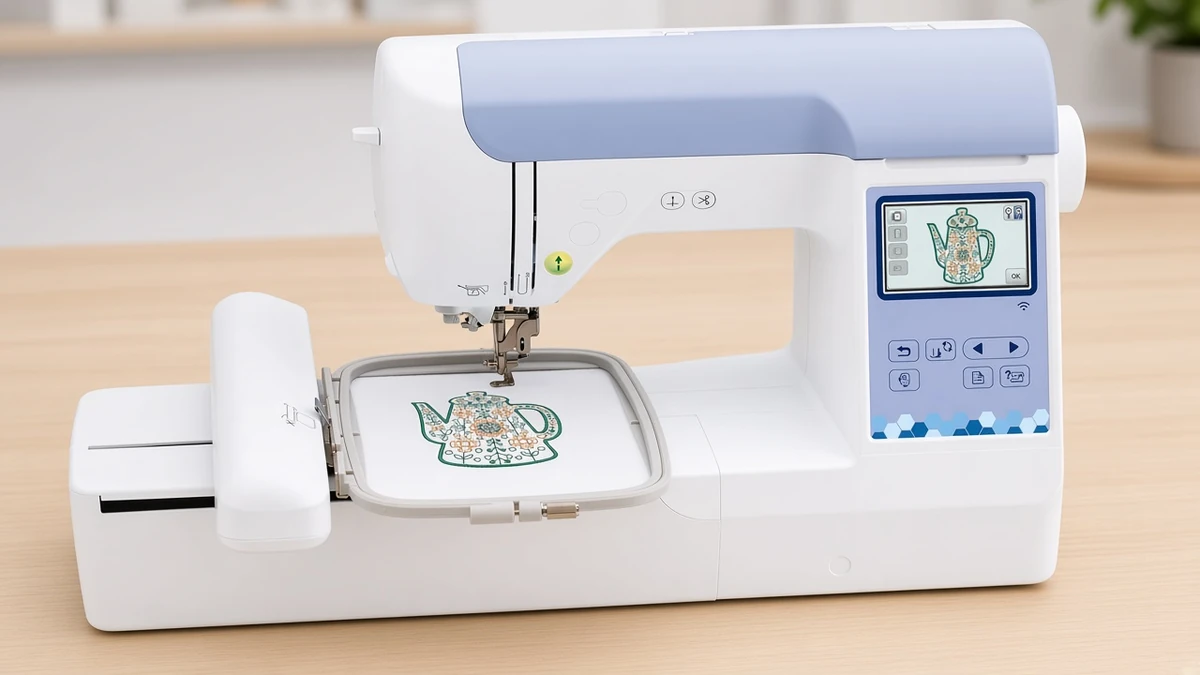
A first-day walkthrough for the Brother PE900: the supplies to have ready, bobbin and upper threading, hooping with stabilizer, and stitching your first design.
Products mentioned in this guide
How-To and Techniques
To set up the Brother PE900 for embroidery, power the machine off, thread the upper path with 40wt polyester embroidery thread while the presser foot lever is raised, drop a Class 15 pre-wound bobbin into the bobbin case, hoop your fabric together with a sheet of stabilizer, then send a design to the machine over Wireless LAN, USB or the Artspira app and press Start. Class 15 / SA156 identity is explained in how to use SA156 prewound bobbins.
Whether you are researching the Brother PE900 Wireless Embroidery Machine as your first embroidery machine or you just pulled it out of the box, there is one detail beginners quickly discover: the PE900 is an embroidery-only machine, and you need to supply your own embroidery thread, stabilizer and bobbins before the first test stitch.
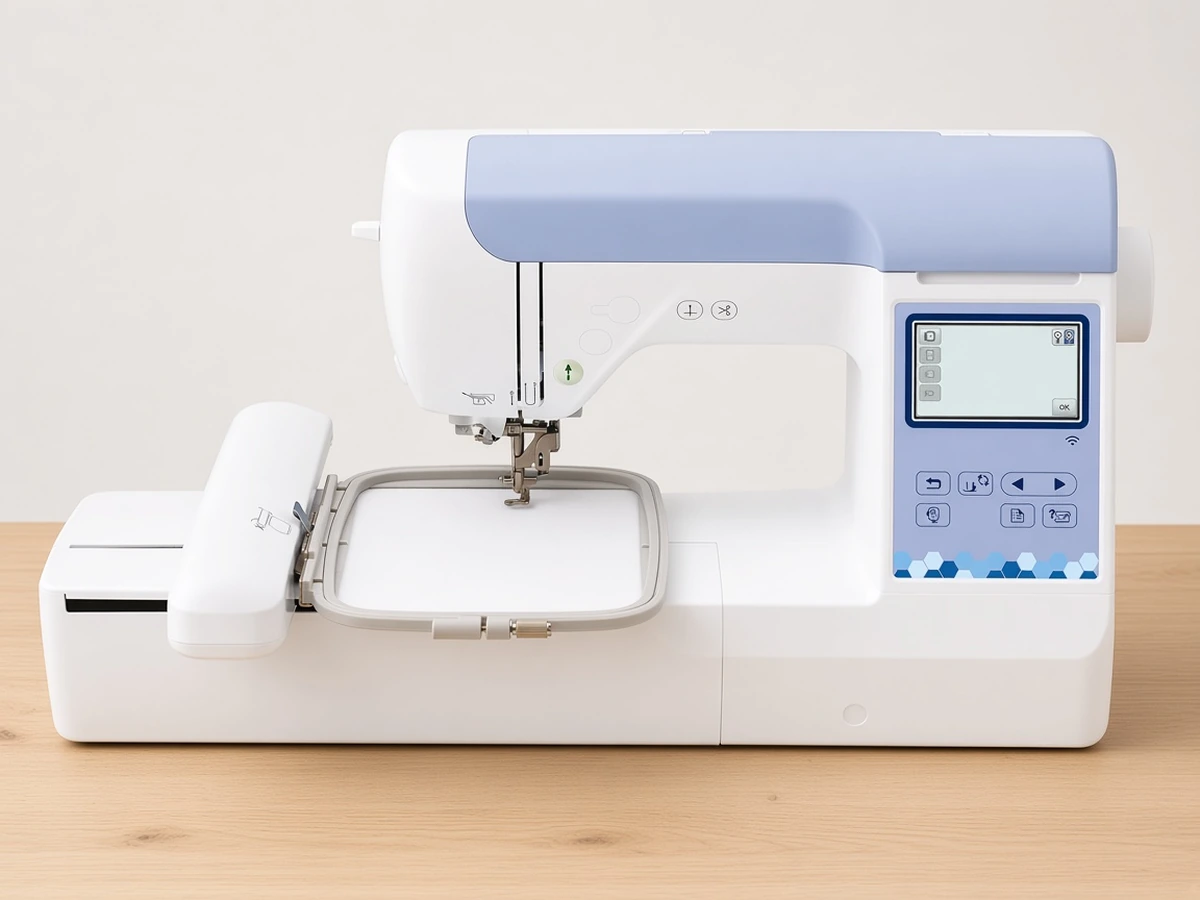
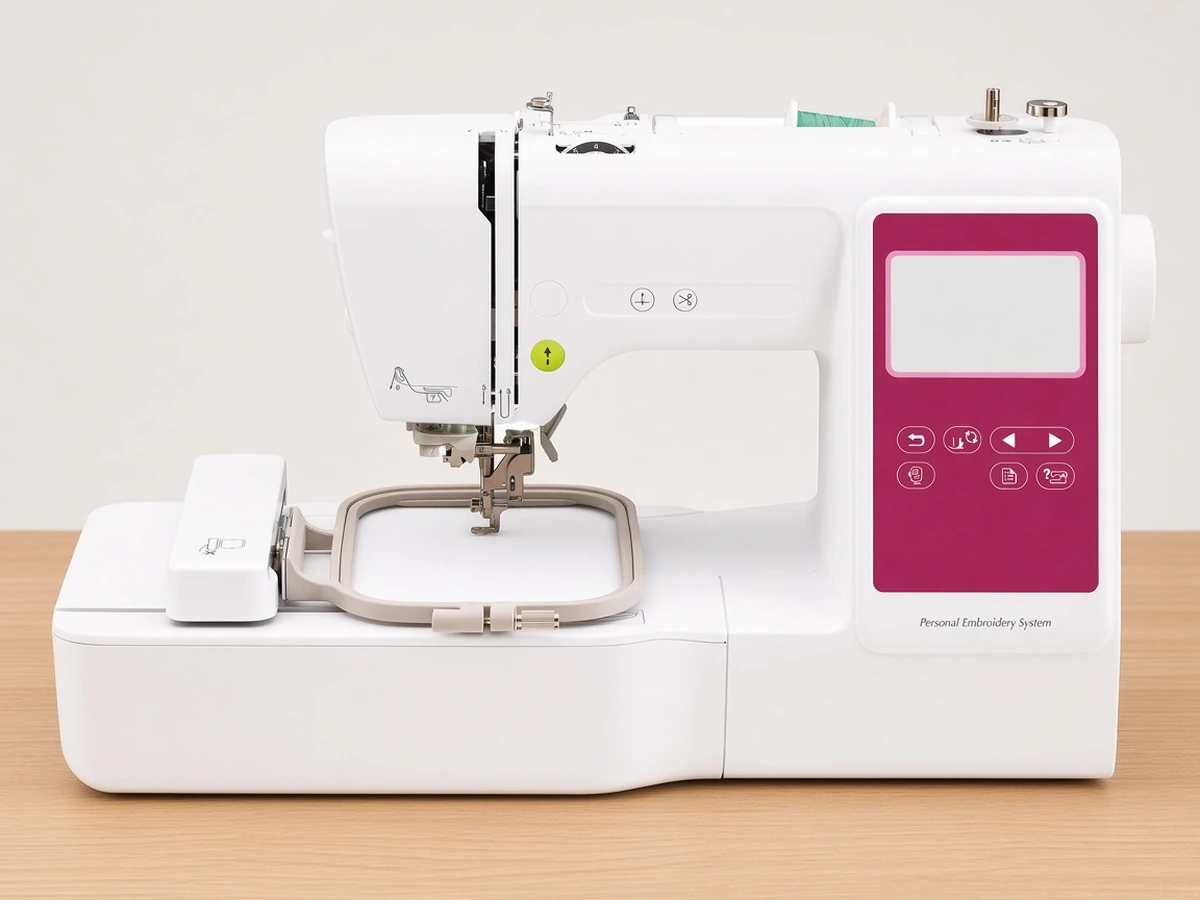
The big selling point of the PE900 is its generous 5" x 7" embroidery field, which is large enough for tote bags, hand towels, cushion fronts and full-size patches, along with 193 built-in designs, 13 built-in lettering fonts and a 3.7-inch color LCD touchscreen. Our full Brother PE900 review looks at its strengths and limits in more detail.
Essential Day-1 Starter Supplies (What Doesn't Come in the Box)
The Brother PE900 includes a 5" x 7" embroidery hoop and a set of built-in designs, but you will need four essential consumables before running your first test stitch: Which backing to use, including a 10 in cut-away roll you can cut for a 5 x 7 hoop, is in best embroidery stabilizer types.
The Machine Itself: Brother PE900 Wireless Embroidery Machine — Features a 5" x 7" embroidery field, 193 built-in designs, 13 built-in fonts, a 3.7" color touchscreen, color sort, jump stitch trimming and Wireless LAN file transfer.
Want hoops and thread included? The Brother PE900 Bundle with 5-Piece Hoop Set, Embroidery Threads and Accessories packages the same machine with extra hoop sizes, 40 spools of polyester embroidery thread and an accessory kit, so you can start right away.
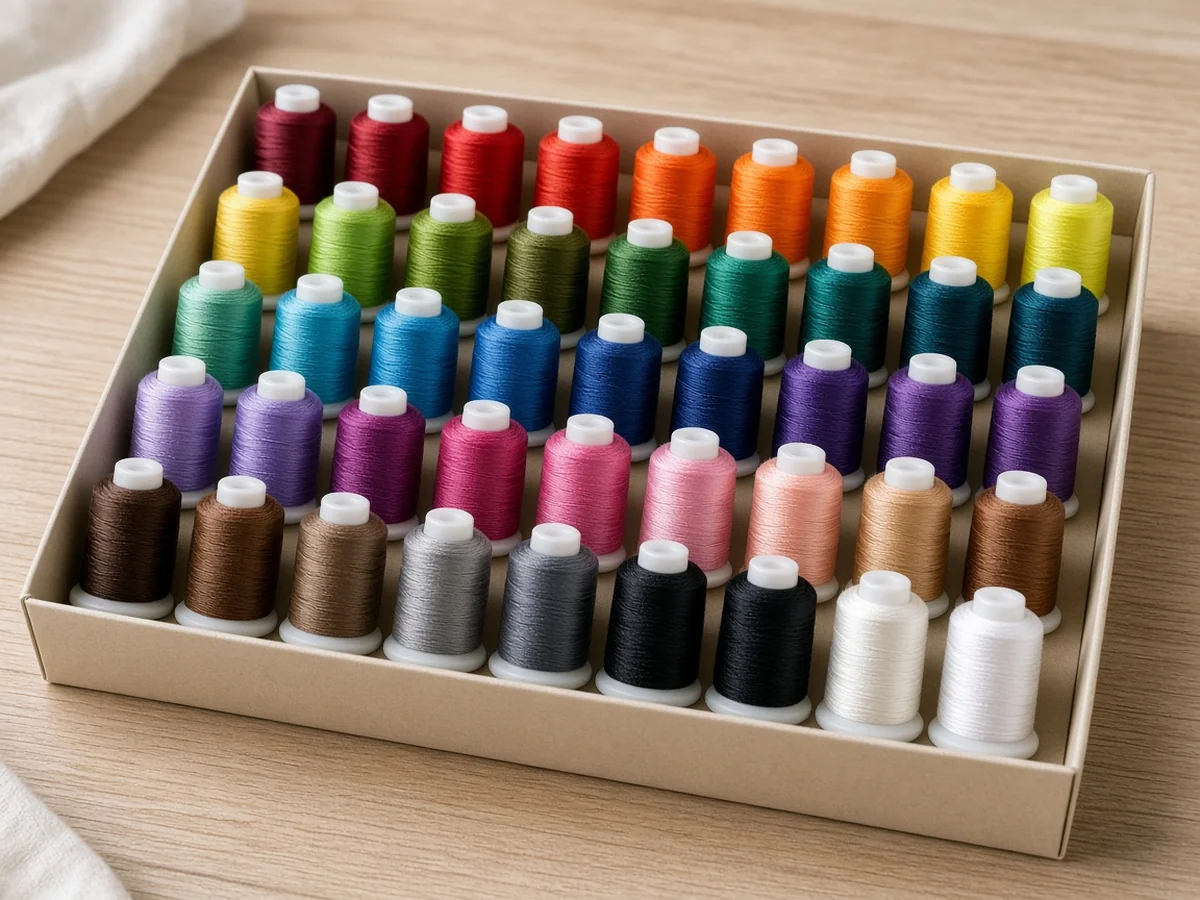
40wt Polyester Embroidery Thread (Required): Standard cotton sewing thread will fuzz up and clog the tension discs at embroidery speeds. Grab a New Brothread 40-Spool Polyester Embroidery Thread Starter Kit so you have every core color ready.
Medium-Weight Cut-Away Stabilizer (Required): Stitching directly onto fabric without backing causes severe puckering and thread knots. Start with Brothread 2.5oz Pre-Cut 8" x 8" Cut-Away Stabilizer Sheets for small designs, and use a larger cut-away sheet when you fill the full 5" x 7" hoop.
Size A (Class 15) Pre-Wound Bobbins (Highly Recommended): A 144-Pack of Class 15 (SA156) 60wt White Pre-Wound Embroidery Bobbins ensures smooth, factory-even bottom tension and saves you from winding bobbins by hand.
Replacement Embroidery Needles: Keep a pack of Schmetz 75/11 Home Embroidery Needles on hand, as standard sewing needles have smaller eyes that shred metallic and rayon threads.
Step 1: Place the Machine and Power It On
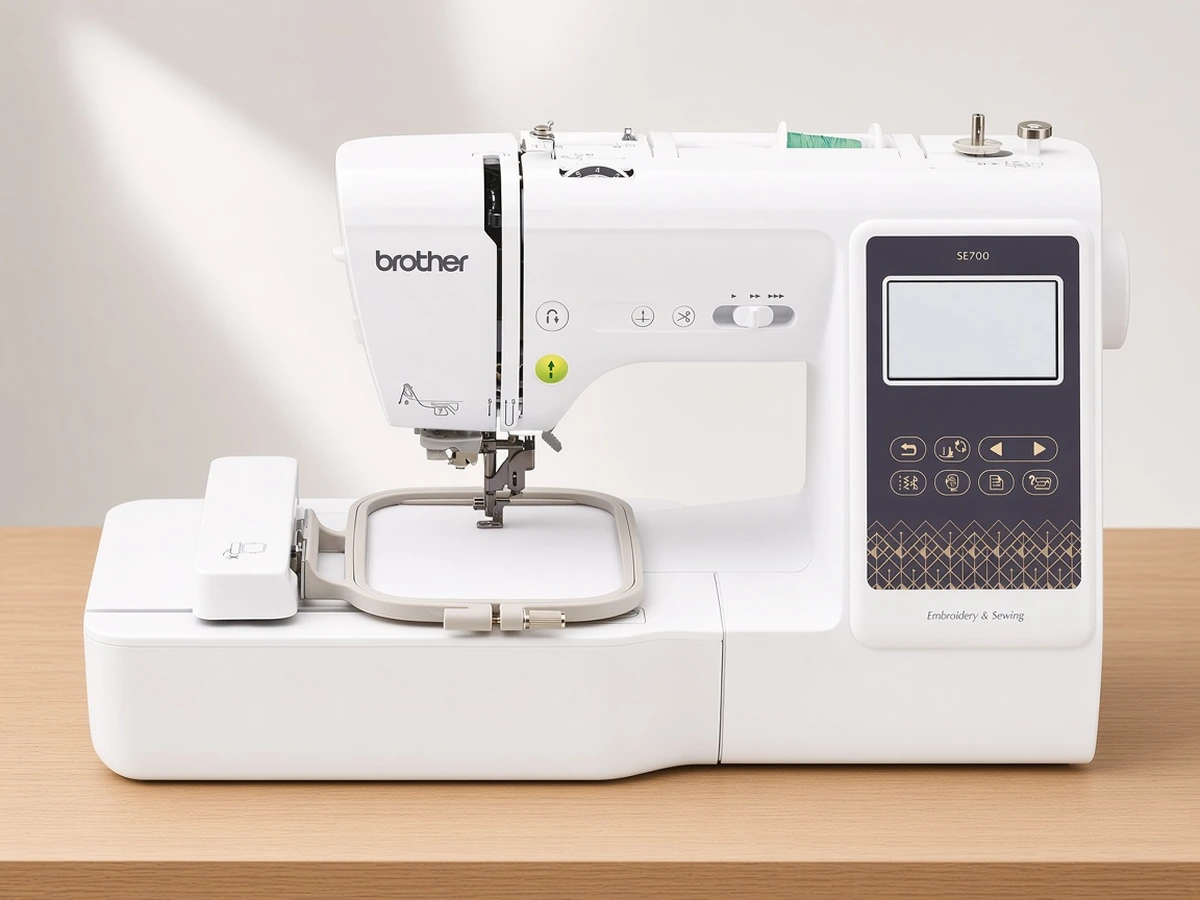
Because the Brother PE900 is embroidery-only, there is no sewing-to-embroidery conversion to worry about. You do not need to swap presser feet or attach a separate carriage unit the way you would on a combination machine such as the Brother SE700.
Choose a stable table: Leave at least a hand's width of clear space behind and beside the machine, because the embroidery arm moves the hoop forward, backward and side to side while it stitches.
Plug in and power on: Flip the power switch on. The 3.7-inch LCD touchscreen will ask you to keep hands and objects away from the carriage. Tap OK, and the carriage will glide along the X and Y axes to calibrate its home position.
Keep the hoop area clear: Never place the hoop, scissors or fabric in the carriage path during this calibration.
Step 2: Drop in Your Class 15 Bobbin (The "P" Orientation Rule)
Machine embroidery requires lightweight 60wt or 90wt bobbin thread in the bottom case so the knots pull cleanly to the underside of your design.
Check the "P" shape: Hold your Class 15 (SA156) Pre-Wound Bobbin so the thread hangs down on the left side, looking like the letter P, not the letter q.
Guide through the tension slot: Drop the bobbin into the top-loading case, lightly place one finger on the bobbin so it cannot spin, and pull the thread tail through the metal tension channel following the diagram printed on the bobbin cover area.
Close the cover: Pull the thread through the guide track until the built-in cutter snips the tail, then snap the clear plastic cover back on. You do not need to pull the bobbin thread up through the needle plate manually.
Step 3: Thread the Upper Path With the Presser Foot UP
The most common cause of thread bunching ("birdnesting") underneath the hoop is threading the top spool while the presser foot is down. When the foot is down, the internal tension discs are pinched shut, preventing the thread from seating inside them.
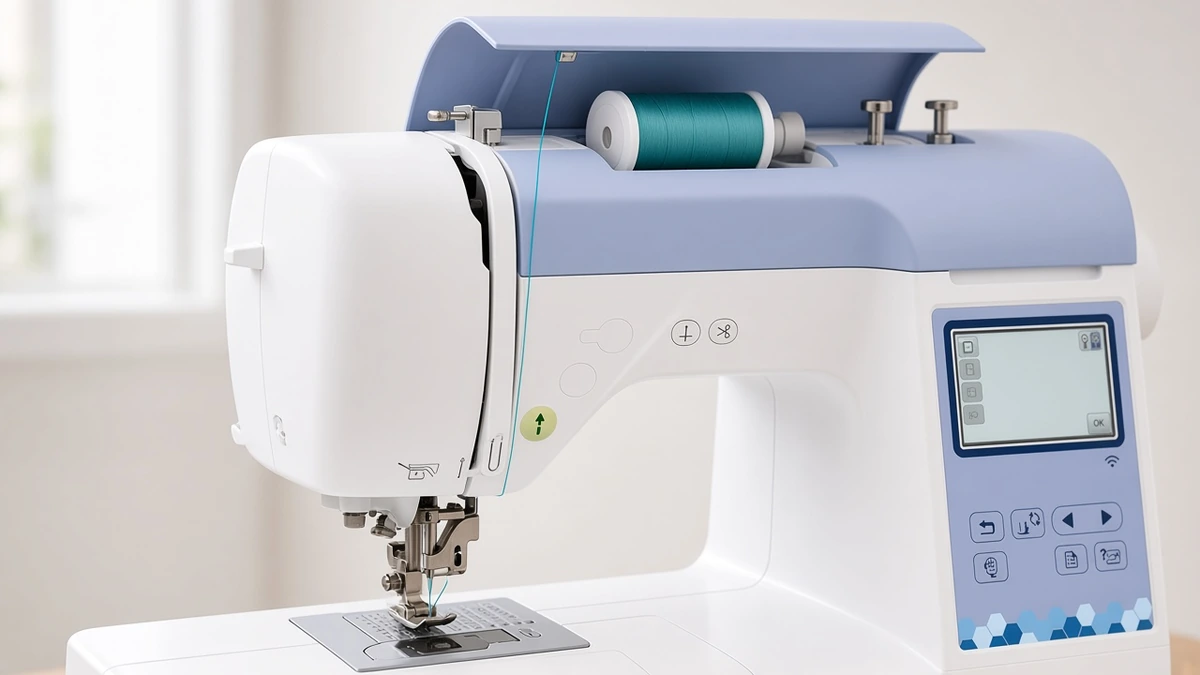
Raise the presser foot lever UP: This opens the internal tension discs wide.
Mount your 40wt spool: Place a spool from your 40-color polyester embroidery thread kit onto the spool pin and slide on a spool cap that closely matches the diameter of the spool base.
Follow the numbered path: Route the thread through each numbered guide printed on the machine, working from the top thread guide down through the channel, around the U-turn, up into the take-up lever (pull the thread until it seats in the eyelet), and back down behind the needle bar guide.
Use the Automatic Needle Threader: Lower the presser foot lever so the threader aligns with the needle eye, hook the thread around the final guide, and press the automatic threader lever all the way down.
Pull the loop through: Pull the thread loop completely through the needle eye and lay the tail toward the back of the embroidery foot.
Step 4: Hoop Your Fabric and Stabilizer
The 5" x 7" hoop is the biggest upgrade over entry-level 4" x 4" machines, but a bigger hoop also needs better hooping.
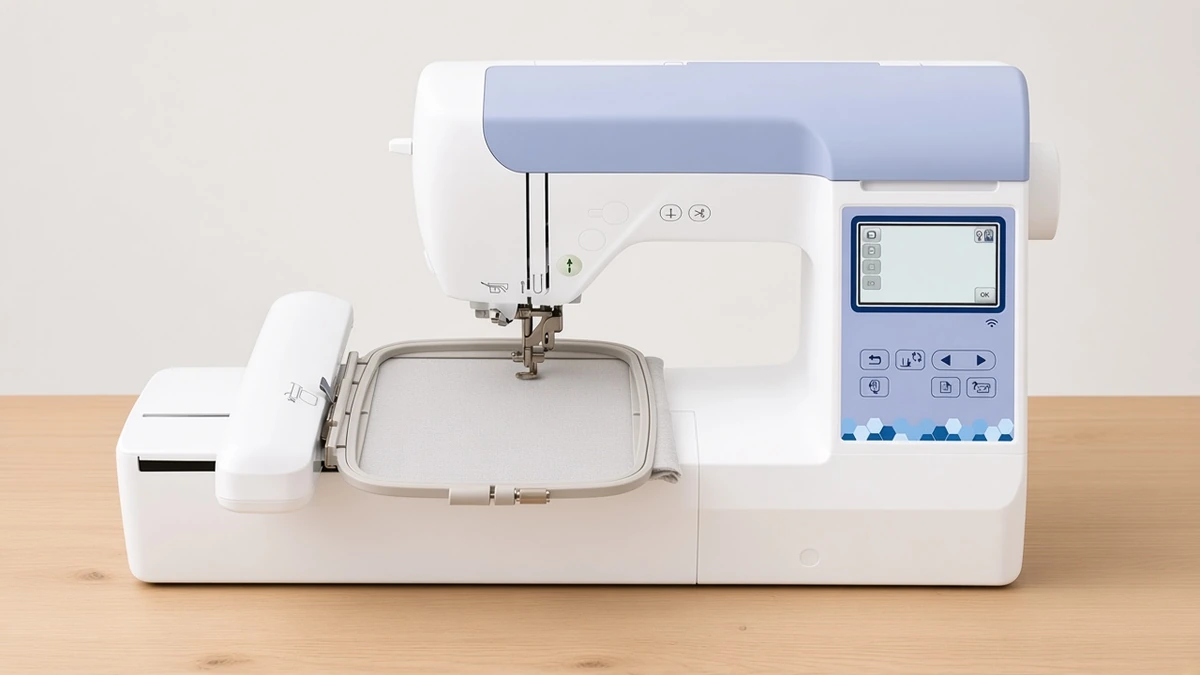
Hoop fabric and stabilizer together: Lay one sheet of 2.5oz Cut-Away Stabilizer flat under your fabric. Place both layers over the outer hoop ring, press the inner ring down evenly, and tighten the thumb screw until the fabric feels taut like a firm mattress, without stretching knit fibers out of shape.
Check for wrinkles: Run your fingers across the hooped fabric. Any ripple or fold will be stitched permanently into your design.
Snap the hoop onto the carriage: Slide the hoop's side brackets into the carriage arm clips until both sides click down flat. If the hoop sits crooked, remove it and try again instead of forcing it.
Step 5: Send Designs Wirelessly and Start Stitching
The standout feature of the Brother PE900 is built-in Wireless LAN connectivity along with support for the Brother Artspira mobile app.
Pick a built-in design: Tap one of the 193 built-in embroidery designs or 13 lettering fonts on the color touchscreen, then use the on-screen editing tools to move, resize or rotate your pattern.
Or transfer your own design: Send a downloaded
.PESembroidery file wirelessly from your Windows PC using Brother's free Design Database Transfer software, load it over the built-in USB port, or send designs from your phone with the Artspira app, which also includes 50 free embroidery designs to get you started.Use color sort and jump stitch trimming: The PE900's color sort groups stitches of the same color to cut down on thread changes, and jump stitch trimming snips connecting threads between design elements to save cleanup time.
Start stitching: Lower the presser foot lever, press the green Start/Stop button, and watch your PE900 stitch out the first color layer. Trim the thread tail when the machine prompts you to change colors, then re-thread with the next color.
FAQ
Does the Brother PE900 need a conversion step before embroidering? No. It is an embroidery-only machine, so there is no presser foot swap or separate carriage unit to attach, unlike a combo such as the Brother SE700.
Why is thread bunching under my hoop? The most common cause is threading the upper path with the presser foot lowered. Raise the presser foot lever before threading so the tension discs open and the thread can seat properly.
Which way does the bobbin go in? Hold the Class 15 (SA156) bobbin so the thread hangs down on the left and the bobbin and tail form the letter P, then drop it into the top-loading case and pull the thread through the tension channel.
How do I get my own designs onto the PE900? Send a .PES file wirelessly with Brother's free Design Database Transfer software, load it over the USB port, or send designs from your phone with the Artspira app.
What do I need to buy before the first stitch-out? 40wt polyester embroidery thread, cut-away stabilizer, Class 15 pre-wound bobbins and spare embroidery needles. The machine includes a 5"x7" hoop and built-in designs.
Final Verdict: Is the Brother PE900 Worth Buying?
Who should buy the Brother PE900: Hobbyists, small Etsy sellers and gift makers who want a dedicated embroidery machine with a large 5" x 7" field, 193 built-in designs, 13 fonts and wireless file transfer, without paying for sewing features they already have on another machine.
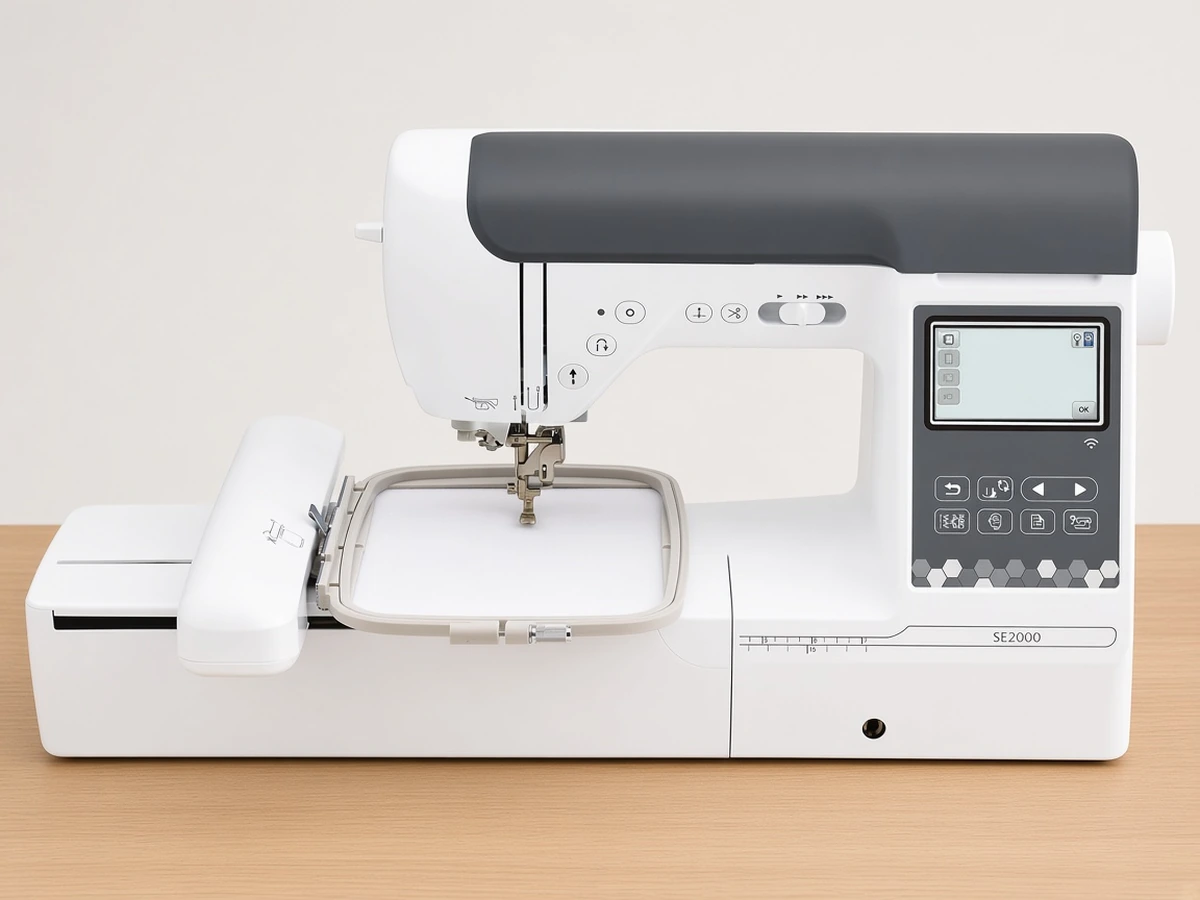
Who should skip it: Beginners who also need a sewing machine and only plan on small chest logos and monograms may prefer a combination machine such as the Brother SE700 or the larger Brother SE2000 (Amazon), and buyers on a tighter budget who are happy with a 4" x 4" field should look at the Brother PE545 (Amazon). Our Brother PE545 vs PE900 comparison sets the two embroidery-only models side by side.